How to Style Bracelets, Necklaces and Piercing Jewellery Together
Learn how to style bracelets, necklaces, and piercing jewellery with expert tips on layering, mixing metals, balancing textures, and choosing comfortable materials.
Recent Blogs
-
Jewellery and Piercings: Expressing Your Personal Style Through Accessories
-
Small Accessories, Big Impact: Ways to Elevate Everyday Outfits
-
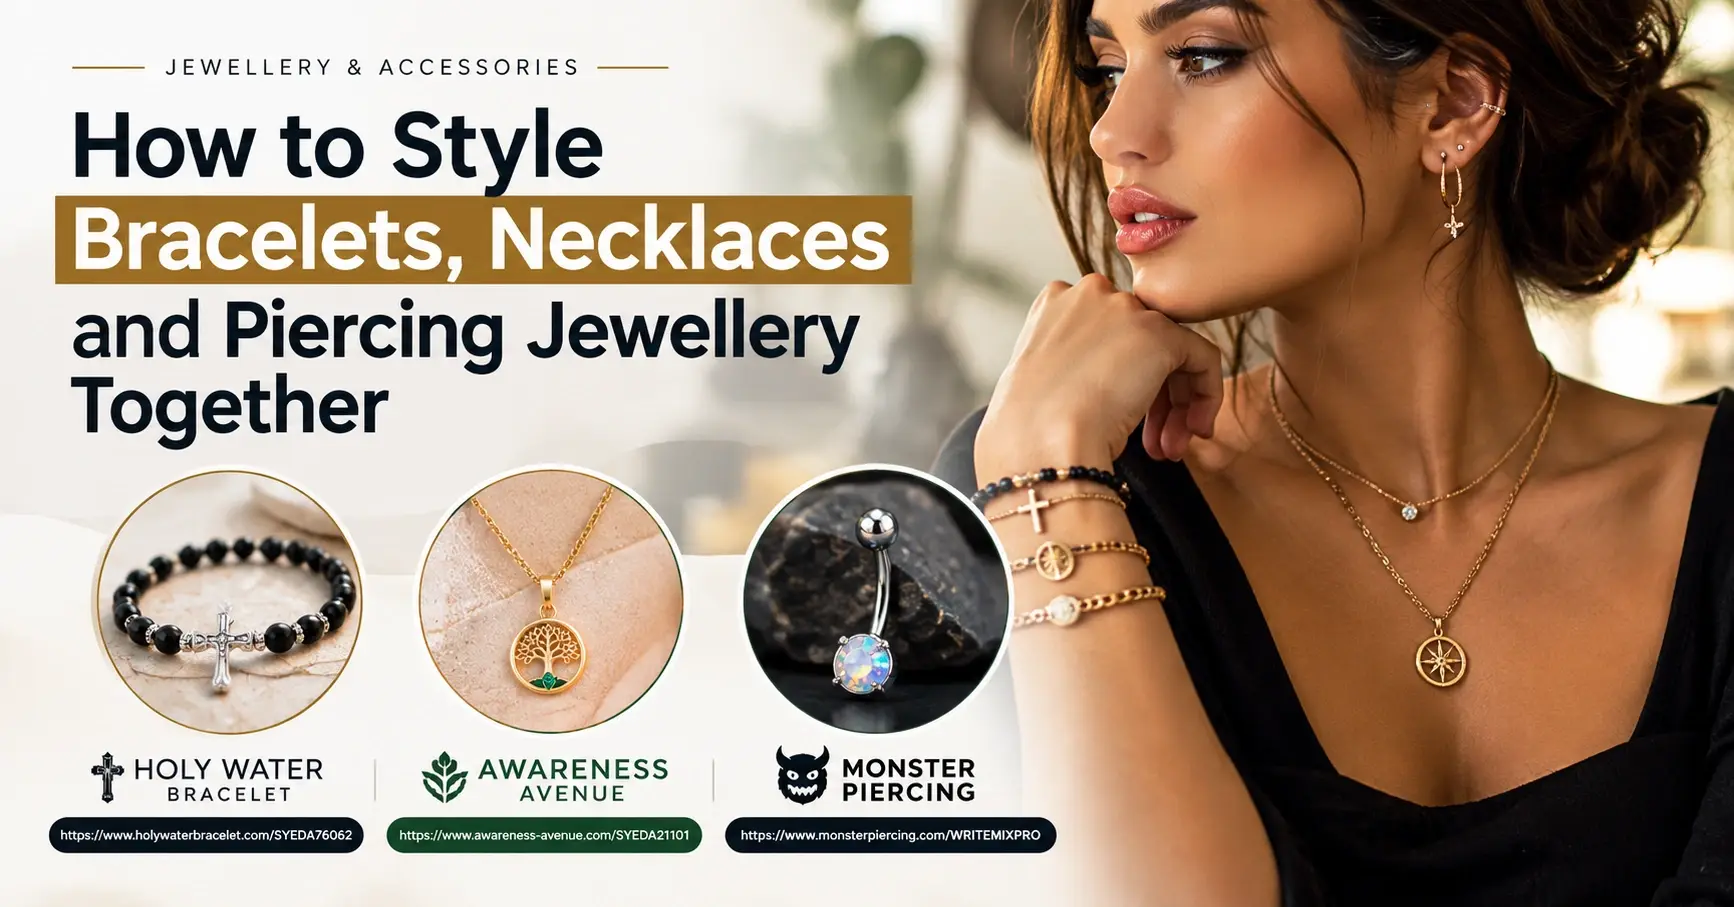
How to Style Bracelets, Necklaces and Piercing Jewellery Together
-
Best Everyday Jewellery and Accessories for Every Personal Style
-
The Ultimate Guide to Building a Versatile Jewellery Collection
-
A Practical Guide to Everyday Pet Care: Comfort, Protection, and Hygiene
-
How to Choose the Right Pet Walking Gear for Safety, Comfort, and Control
By William Ashby
·October 15, 2026
Most of us build a jewellery collection one piece at a time: a necklace we wear daily, a few bracelets from gifts or trips, and ear or nose piercings that already carry something small and sparkly. Then we put it all on at once, and the result either looks effortless or looks like a drawer that exploded.
The difference is rarely budget. It comes down to a handful of repeatable decisions about metal, scale, and where the eye is meant to land.
The short answer: choose one anchor piece, repeat one detail (a metal tone or a motif) in at least two places, vary the size of pieces that sit next to each other, and keep one zone quiet. Below is how to apply that to your ears and nose, neck and wrists, along with the material and comfort points that matter when piercings are involved.
The four-rule framework: Anchor, Echo, Contrast, Rest
Think of your jewellery as a small composition rather than a set of separate items. Four rules cover most situations.
1. Anchor: give the look one leader
Pick the one piece you want noticed first: a pendant with meaning, a bracelet you never take off, or a detailed ear stack. Everything else supports it. Without an anchor, every piece competes, and the whole look feels busy.
2. Echo: repeat one detail across zones
Repeating something small ties unrelated pieces together. It might be a metal tone, a stone shape (round CZ studs and a round pendant), or a motif such as hearts, crosses, or leaves. Aim to repeat it in at least two of your three zones (ears and nose, neck, wrists). Echoing is more flexible than matching: you do not need identical sets.
3. Contrast: vary scale and texture next to each other
A fine chain beside a chunky link, a smooth bangle beside a beaded stretch bracelet, a tiny flatback stud beside a larger hoop. Similar sizes blur together; different sizes read as deliberate.
4. Rest: leave one zone simple
If your ears are detailed, keep your neck to one chain. If your wrists are stacked, keep your earrings minimal. A calm zone is what lets the busy one look styled.
Step 1: Decide how your metals will work together
Mixing gold-toned and silver-toned pieces is fine. It only looks accidental when there is no logic behind it.
A simple 70/30 approach
Let one tone dominate (roughly 70 percent of what you wear) and use the other as an accent. Silver-toned chain and ear jewellery with one gold-toned pendant looks planned. Half and half, scattered randomly, tends not to.
A bridge piece helps too: a two-tone bracelet, or a pendant with both tones, links the two families visually.
Plated, vermeil and solid gold
The label matters for wear as well as price. Gold vermeil is a layer of gold over sterling silver; plated pieces have a thin gold finish over another base metal; solid gold is gold throughout. Plating and vermeil can wear on pieces that rub constantly, such as bracelets and rings, so they suit styling flexibility more than lifelong daily wear. If you are building a mixed stack, it helps to know which layer you are dealing with.
Stores differ widely here. Awareness Avenue, for example, lists pieces in sterling silver (S925), 18K gold vermeil and stainless steel, which makes it easy to see how different finishes sit together before you decide what to buy.
Step 2: Start with the piercings
Start here because piercings are the fixed points. You can swap a necklace in seconds, but ear and nose jewellery should be chosen with more care and, for new piercings, left alone. Build the rest of the look around what is already in.
Ear and nose styling
- Space pieces out. On the ear, mix types and sizes: a small flatback stud in one spot, a hoop or hinged clicker in another, a simple lobe stud. Odd numbers and uneven spacing look more natural than a row of identical pieces.
- Echo your necklace. If your pendant is a small round stone, a round CZ stud in the helix or tragus repeats it quietly.
- Mind the jawline. Long dangling earrings and a heavy pendant compete in the same area. Pair large hoops with a simple chain, or detailed ear jewellery with a delicate pendant.
- Keep nose jewellery the smallest element. A tiny stud or fine hoop in the same metal tone as your ear pieces keeps the face area coordinated.
When you want to build an ear look from wearable options, Monster Piercing is a UK body-jewellery brand with a range spanning labrets, hoops and clickers, barbells and belly rings in titanium, surgical steel, sterling silver and solid gold. Its pages are organised by body part (helix, conch, tragus, daith, septum and more), so you can browse by the piercing you actually have.
Piercing safety for stylists
Styling advice stops being cosmetic once a piercing is fresh. Keep these points in mind:
- Do not swap new jewellery for style reasons. Healing times vary by placement, and cartilage piercings in particular can take months. Ask your piercer when it is safe to change jewellery.
- Choose materials carefully for fresh piercings. The Association of Professional Piercers (APP) advises that initial piercing jewellery should meet recognised ASTM or ISO standards for implant materials; see its guidance on jewellery for initial piercings. “Surgical steel” or “hypoallergenic” on a label is not a guarantee of that.
- Check size and gauge. Thickness (gauge) and length affect comfort. If you are not sure what you have, ask a professional piercer to measure.
- Watch for snags. Necklace chains, bracelet clasps, hair, and clothing can catch on ear and nose jewellery. If something tugs, adjust the layout rather than forcing it.
- See a professional for problems. Persistent pain, swelling, heat, discharge, or a bad reaction deserves a piercer’s or doctor’s attention; styling is not worth irritation.
Some sellers state their material specifics on product pages. Monster Piercing, for example, describes its G23 titanium as implant-grade. Whatever store you use, check the product page for the exact material and standard, and ask the seller if it is unclear.
Step 3: Layer necklaces around your neckline
The neckline sets the stage, so pick chains to suit what you are wearing rather than layering by habit.
- Crew neck or high neck: shorter chains (around 16 inches) sit on skin or just above the collar; add one longer chain over clothing for contrast.
- V-neck: let a pendant echo the V; stagger two chains so the pendant sits at the point.
- Scoop or wide neck: a medium chain and a slightly longer one fill the space without crowding.
- Off-shoulder or strapless: a single statement necklace, or a fine short chain, keeps the neckline clean.
Layering basics
- Stagger lengths. A gap of roughly 2–4 inches (5–10 cm) between chains keeps them from tangling and lets each one be seen. A common set is 16, 18, and 20 inches, but this is a convention, not a rule.
- Vary the weight. Pair one fine chain with one medium or chunky one. Two chains of the same thickness merge into one confusing line.
- One pendant leads. If you wear two or three layers, give one the pendant and keep the others plain, or use two small pendants at clearly different lengths.
- Separate when you store. Fasten clasps and keep layered chains apart to reduce tangling.
If you wear a cross, treat it as your anchor and let plain chains do the supporting work. A layered look works best when the cross hangs lowest or sits alone in the centre.
For a wider variety of chain styles, pendants and personalised pieces, Awareness Avenue’s necklace and bracelet collections cover materials from stainless steel to sterling silver and gold vermeil, including cross pendants, birthstone styles and Cuban-link chains. The store also publishes a jewellery care guide, which is worth reading if you plan to layer silver and gold pieces.
Step 4: Build the bracelet stack
Bracelets are the easiest place to experiment, and the easiest place to overdo it.
- Start with an anchor bracelet, ideally one with meaning or a clear focal point, then add two or three supporting pieces. Three or five items usually look more natural than an even count, although that is taste rather than a rule.
- Mix three textures: one chain or link, one beaded or soft-cord bracelet, and one smooth or rigid piece.
- Mind the wrist. Piling everything on one arm can look heavy. Splitting pieces between wrists, or pairing one wrist stack with a watch on the other, balances the look.
- If you wear a watch, keep the stack on the same wrist to two slim pieces, or move the stack to the other wrist.
- Think about movement. Stretch-cord bracelets sit softly next to chains, but heavy rigid pieces may rub against them over time.
Using a symbolic bracelet as your anchor
Faith and keepsake bracelets work well as anchors because they are worn for meaning, not just style. Holy Water Bracelet makes a Catholic faith jewellery line: each piece includes a resin charm that, according to the brand, contains water sourced from the Grotto of Our Lady of Lourdes in France. The bracelets are made on stretch cord with waterproof beads (stainless steel with waterproof gold plating, or crystal pearl); standard sizing is 6.8 inches unstretched, with petite, kids’, and 7.5-inch men’s sizes available.
Because the bracelets are quite slim and soft, they stack comfortably with a metal chain bracelet. Browse the Holy Water Bracelet collections to see designs such as crosses, hearts, saints, and the Miraculous Medal, plus personalised options and anklets.
For a stack with a clear anchor, keep the faith bracelet as the centrepiece and choose supporting pieces in a matching metal tone. If you do not want the rest of the look to compete, keep earrings and necklace minimal.
Step 5: Balance all three zones
Your ears and nose, neck and wrists form three visual zones. A good look has one lead, one supporting zone, and one quiet zone.
A useful test: look in a mirror from arm’s length. If your eye does not know where to go first, remove one piece.
Five look recipes
These are frameworks, not product prescriptions. Substitute pieces you already own.
Material guide for comfort and sensitive skin
What a piece is made of affects how it looks over time and how your skin responds. This is general information, not medical advice; if you have a known metal allergy, ask a doctor or piercer.
Common mistakes
- Matching everything exactly. Complete matching sets can look flat; echo one detail instead.
- Competing statement pieces. Two heavy pendants, or a large pendant with long dangling earrings, fight for attention.
- Same-length chains. They tangle and read as one thick line.
- Changing a fresh piercing for style. Wait for the all-clear from your piercer.
- Ignoring materials. A beautiful piece that irritates your skin does not get worn.
- Stacking without a plan. If you cannot say which piece is the anchor, there probably is not one.
- Forgetting the watch or sleeves. Check how bracelets sit under cuffs and next to a watch before leaving the house.
Where to explore pieces
If you want to build or refresh a combination, each of these stores covers a different part of the look. Details come from the brands’ own websites at the time of writing; prices and promotions change, so check them yourself.
Quick checklist
- Pick one anchor piece.
- Decide a dominant metal tone and a smaller accent.
- Repeat one detail in at least two zones.
- Vary scale next to each other.
- Leave one zone quiet.
- Stagger necklace lengths by roughly 2–4 inches.
- Check materials, especially for piercings.
- Look in the mirror; remove one piece if your eye has nowhere to land.
Frequently Asked Questions
Can you wear gold and silver jewellery together?
Yes. Choose a dominant tone for roughly 70 percent of your pieces and use the other as an accent, or add a two-tone piece to link them.
How many necklaces should you layer?
Two or three is a common limit. Stagger lengths by around 2–4 inches, vary chain weights, and let one carry the pendant.
Should earrings match your necklace?
They do not have to. Echo one detail, like metal tone or stone shape, rather than matching exactly.
How many bracelets can you stack?
There is no fixed limit. Three to five pieces with mixed textures look natural for many people; reduce the count if you wear a watch.
Can I wear necklaces and bracelets with a new piercing?
Yes, but be careful about snags. Do not change initial piercing jewellery for styling reasons until your piercer says it is safe, and contact a professional if you see signs of irritation or infection.
What metals are best for sensitive ears?
Many people choose implant-grade titanium or solid gold. The Association of Professional Piercers publishes guidance on materials for initial piercings; check the exact standard, not just a general label such as “hypoallergenic”.
How do I style religious or symbolic jewellery with other pieces?
Treat the meaningful piece as your anchor, keep supporting jewellery simple and in a compatible metal tone, and avoid placing competing statement pieces beside it.
Conclusion
Styling bracelets, necklaces and piercing jewellery together is less about owning the right pieces and more about a few consistent decisions: one anchor, one echo, some contrast and a quiet zone. Start with your piercings, because those should be chosen carefully and left alone while healing. Then work outwards to your neck and wrists. Check materials as you go, and let the look build slowly rather than all at once.